
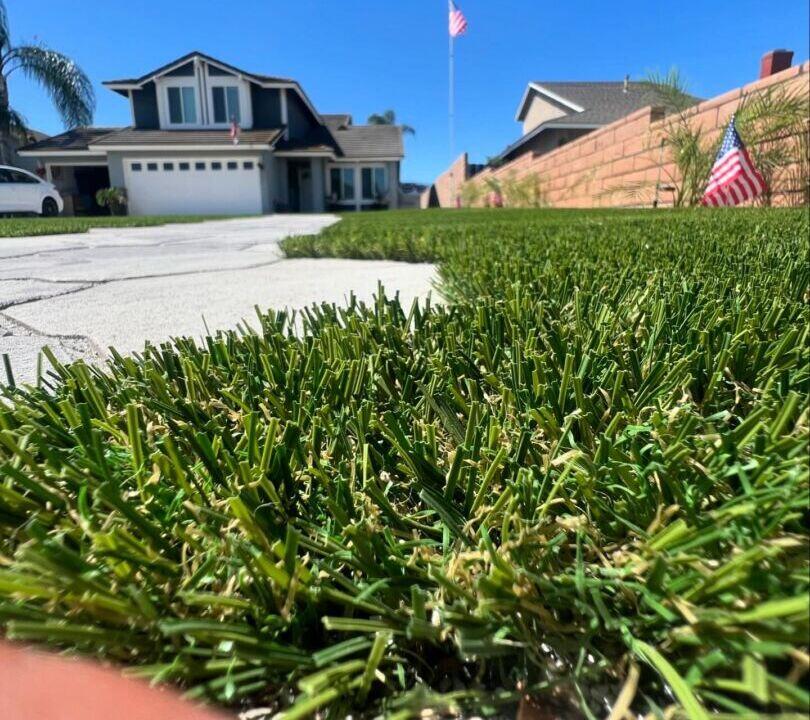
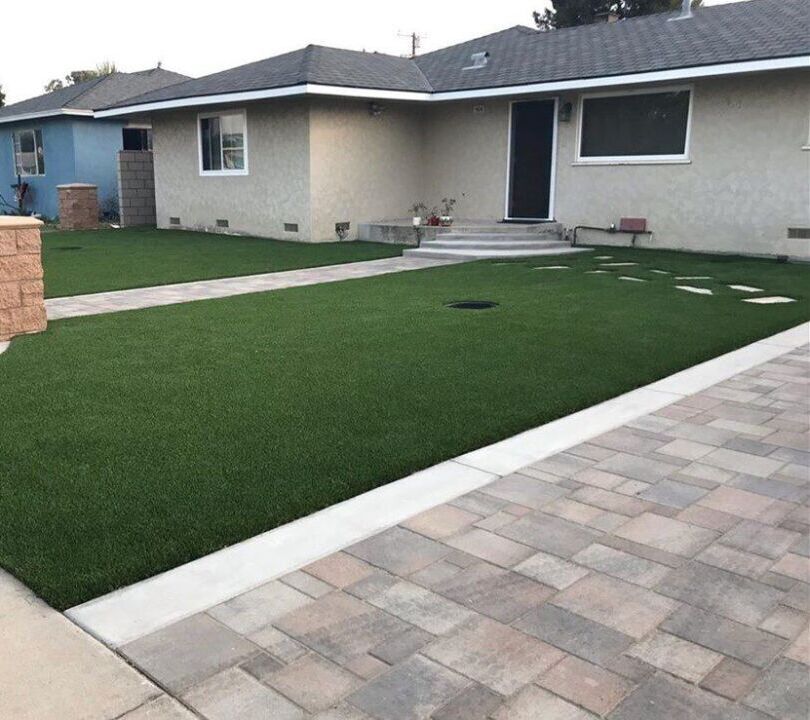
Select the best artificial grass hardware for your artificial turf landscape installation. Use specialty nails or staples along the perimeter, enabling you to pull seam edges closer together, reduce visibility in the seams, and create a smoother turf landscape. Choosing the right hardware helps to secure turf in place and prevent seams from shifting in the future.
Artificial Grass Hardware Options
Secure the turf by staking the edges with 5″-6″ nails or staples. Space the hardware along the perimeter edge approximately 3″-6″ apart. Repeat the process for treated lumber, bender board, or poly board around the border.

Staples
Using the right tools and materials, including artificial grass staples, is essential to achieving a professional-looking installation.
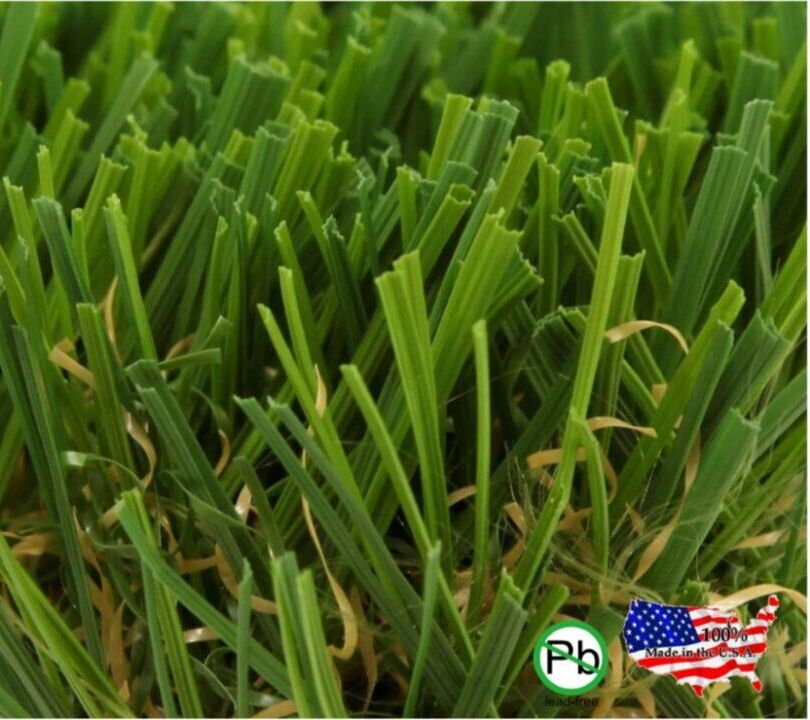
Artificial grass staples are fasteners specifically designed to secure synthetic turf to the ground. They play a crucial role in the installation process by anchoring the turf and ensuring it remains in place, even under pressure from foot traffic, weather conditions, and other external factors.
Staples are convenient for seaming turf sections and adding stability to your artificial grass installation.
Benefits of Using Artificial Grass Staples
Durability: High-quality staples ensure your artificial grass remains securely anchored for years.
Easy Installation: Staples simplifies the installation process, making it quicker and more efficient.
Aesthetic Appeal: Properly secured turf looks better and maintains its appearance over time.
Versatility: Suitable for various surfaces, including soil, gravel, and hard ground.

Ungalvanized Nails
Among these materials, artificial grass nails play a vital role in anchoring your turf securely to the ground. In this guide, we will explore everything you need to know about artificial grass nails, including their types, specifications, and how to purchase them easily and quickly.
Artificial grass nails are specialized fasteners used to secure synthetic turf to various surfaces, including soil, concrete, and asphalt. These nails come in various lengths and styles, but they all serve the same primary purpose: ensuring that your artificial grass remains in place despite weather conditions, foot traffic, and other external factors.
Using artificial grass nails provides several benefits:
Stability: Nails help to keep the grass firmly anchored, preventing it from shifting or lifting.
Durability: High-quality nails made from robust materials ensure long-lasting performance.
Aesthetics: Properly anchored turf looks better and maintains its appearance over time.
Ease of Installation: Artificial grass nails simplify the installation process, making it faster and more efficient.
Call us Today (951) 281-0012
or Send us an Email
We are proud to serve the areas of Southern California from Santa Barbara to San Diego.
Our Service area –
Riverside & all areas in Southern California
Green-R Turf’s Show Room –
Click Here For Directions
Call us Today (951) 281-0012
or Send us an Email
Green-R Turf’s Show Room – Click Here For Directions